*As an Amazon Associate I earn from qualifying purchases.
Carving out a new campsite from scratch can be quite a process, but it’s totally worth it in the end.
You can always throw together a rough site quickly to start enjoying your property right away. That’s certainly what I did. Then you can improve your campsite as time goes on, after you get a better idea what you want.
Following are 6 steps to establishing a campsite on your own land.
Step 1: Choose A Good Campsite Location
Your first step is going to be finding a quality location where you can position your new camping spot.
Below are some things to consider when selecting the perfect place to set up camp.
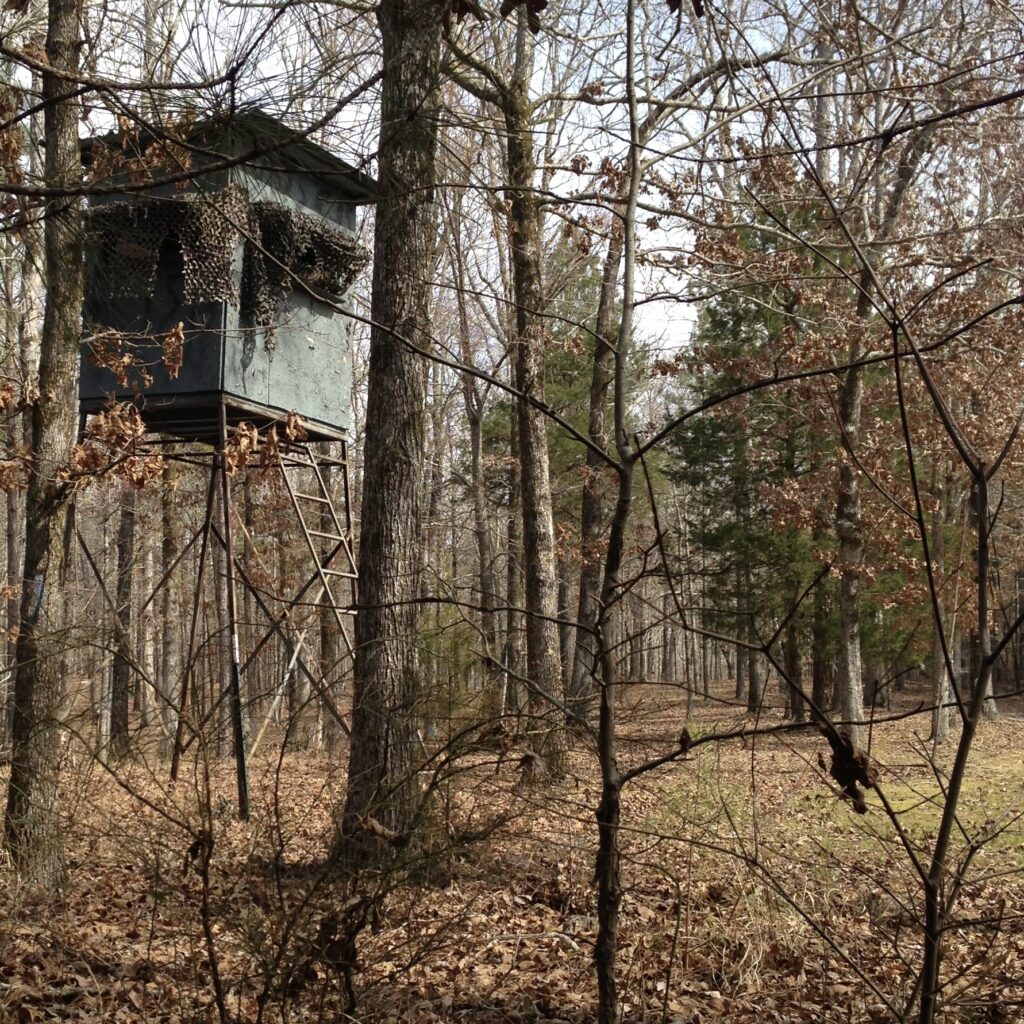
a. Look at the trees
A great site is usually around trees, but not around dangerous trees. Make sure you have shade, but that there are no leaning trees, or dead limbs above your head (I.e. “widow makers”).

If there are too many trees, break out the chainsaw. I personally had to kill a ton of small worthless pine trees to make space for my own campsite.
b. Select a dry level area
Attempt to find an area that is reasonably level, but also that drains well. You don’t want a spot that holds rain water, or that stays soggy for extended periods after a rain.
Low lying ground can be ok, as long as you aren’t in the direct path of flowing or flooding water. In fact, creekside areas are some of the best campsites there are. There needs to be a reliable exit point in case of unexpected flooding.
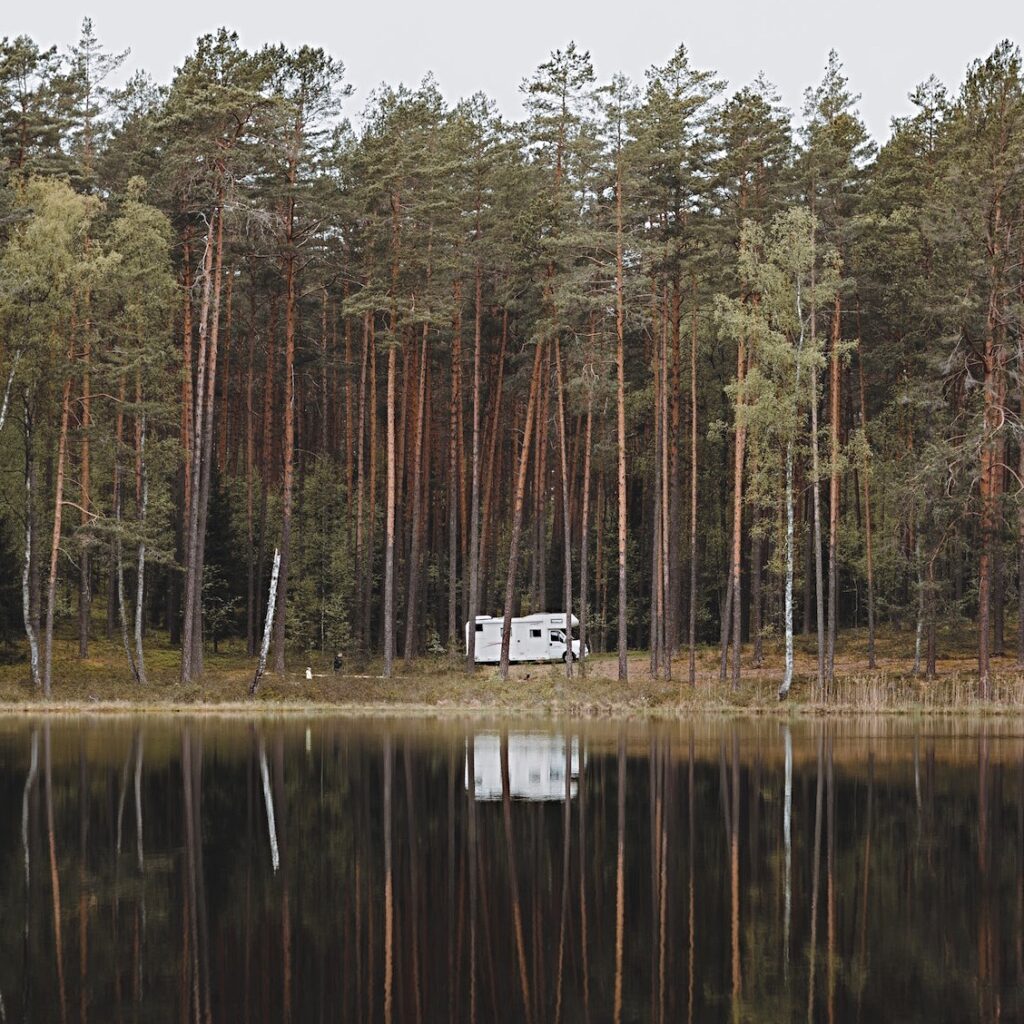
c. Interesting locations are best
Bonus points if your site is positioned within an interesting setting, such as along a stream side, pond, or mountain view.
d. Verify that you have access?
Any campsite location needs to either have a direct access road, or be within reasonable distance of one.
Your site location should have some form of legal access. Beware that there is often land for sale that is completely surrounded by private properties, and has no legal way to access it.

Whether an access point is physically established or not, you need to make sure it is at least legally established.
If your property does not border a public road, check to see if it has a deeded right of way.
e. Is the area large enough?
Your chosen location should have enough space for whatever it is you want to do with it, and enough space to grow into.
Depending on your needs, you may need an area big enough to turn your car around. Or, you might need space for multiple RV’s. It all depends on what you’re wanting out of your campsite.
Step 2: Establish Access To Your New Campsite
Ideally, your property already has a clearly accessible point of entry. If not, you may have to create your own.
If your intention is to only access the site by foot, you’re golden, as a footpath takes very little work.
If your access depends on an ATV, then that also involves very little work. However, if you need vehicle access, that is another matter altogether.

Depending on your piece of property, establishing a road can be quite an expensive chore. This is an important point to consider when purchasing land in the first place.
Creating a new road can obviously be done, but it comes at a cost, whether it’s in time and effort, or in monetary expense.
Clearing a road
You can just about kill yourself trying to manually clear a road.
If you can afford to hire an operator and a heavy piece of machinery for a single day, it’s well worth it.
A dozer or excavator can carve out a rough road in no time. You can expect to pay around $1000 for a days use of these types of machines with an experienced operator included.
Step 3: Clear Off Trees And Brush

There are many ways to clear trees and other vegetation from an area. Some are far more time consuming than others. The cheapest option is to use good old fashioned manpower, a chainsaw, and a fire.
Get it done faster with heavy equipment
To be honest, I went slow, mainly because it took me a while to settle on where I wanted my campsite to go. I kept changing my mind about the final location.
If you know for certain where you want your site, I recommend biting the bullet early, and hiring out a big machine very soon in the process.
A dozer or forestry mulcher can get you to the fun parts much quicker.

Dozer vs. Forestry Mulcher
Both dozers and mulchers are great options when it comes to clearing a trail and a camping spot on your land.
Usually there will be a 4 hour minimum for hiring someone to run their forestry mulcher on your property. Honestly, that may be all you need, as these machines can knock out a lot of work in a short time.
If you need smallish trees (6″ or less) and brush removed, a forestry mulcher is hard to beat. A mulcher will leave you with a park-like setting, and is highly recommended.
However, if you need larger trees removed and the land leveled off, a dozer is the superior choice. For really huge tree removal, an excavator is even better.
You should have a couple of reliable equipment owners come out and tell you what your best option is for what you want done. They’ll come out and look, and give you a quote free of charge.
Sometimes you can get by with a single day of machinery work that comes in under $1000.
Step 4: Level The Ground If Necessary
Hopefully you’re able to find an existing level location for your new campsite. If not, you may have to make your own level spot.
A tractor can do some light grading, but for serious dirt leveling you may need a dozer to get the job done right. You’d be surprised how much you can get done hiring a dozer and operator for a partial day.

If you have access to a truck, another option is to rent equipment from Home Depot and do it yourself. They usually have a couple options that will work for leveling small areas.
Step 5: Establish A Bathroom Area
For any campsite, you need a place to go to the bathroom. You could always use the ground, and go the natural route, which you can read about here.
Other options are a proper outhouse, a composting toilet, or a true septic system. It really depends on what you want, and how much you want to spend.
I think a really good option for camping is a tent bathroom, which is simply a cheap tent in combination with a composting toilet.
There are many composting toilet options, including homemade versions. Just one example can be seen below.

Step 6: Add Some Amenities
Following are a few things I like to have for any campsite, no matter how remote it is.
a. Fire Ring
Most all campsites have a fire ring of some sort. Your fire pit needs to be far enough away from any flammables, such as tents, leaves or brush.
You can pick up a metal fire ring at a place like Tractor Supply, or build your own out of local stone, or by using fire bricks.
There is some danger of exploding rock when moisture gets trapped in porous material and then heated with fire. So, be careful when choosing stones to go around a fire. Personally, I prefer a metal fire ring to avoid any risk of this happening.
b. Seating
Picnic tables are nice to have, but the go to for campsite seating is cheap folding bag chairs, like you see on football tailgating weekends.
Another good seating option is cheap stackable plastic lounge chairs. You can pick these up at your local Wally World for less than $15. Those can be left on site and will withstand the elements for a while.
If money is really tight, keep your eyes peeled on garbage day. Perfectly usable outdoor chairs are often left by the curb. I have picked up several freebees to use at my remote property.

Personally I really like zero gravity chairs, like the ones linked above. These are the most comfortable option I have yet to find.
Another nice seating/napping option is a good hammock or two.
c. Cooking
A good cookout area should obviously not be too far away from the rest of your setup.
Cooking areas should be placed in a safe area with little risk of fire spreading.
If possible, position your cooking area in a shaded location. If no shade is available, make your own by using a hanging tarp or pop up canopy.
A picnic table and cheap grill, that you can leave on site, really rounds out a nice cook station in the woods.
Finally, you’ll need somewhere that you can hang a garbage bag nearby.
d. Lighting
Depending on the time of year, adding lighting to your site is nice, while at other times of the year, lighting may just attract a lot of bugs.
A few good lighting options are solar powered lights, tiki lanterns, led lantern style flashlights, and led string lights powered from a battery or solar.
In some scenarios, fuel powered lanterns can still be a great option, but in the day and age of cheap led technology combined with rechargeable batteries, these are falling from favor.
e. Campsite Activities
You can really enhance your camping experience with the addition of a few activities. Some examples are, a horseshoe pit, a gun target range, hiking trails, or a bird feeder viewing area. The possibilities are endless.

If you don’t want to permanently build activity areas on your property, just bring some games with you. Some great transportable options are cornhole, washer toss, and a poker set.
Some Additional Campsite Establishment Tips
Get some help
It helps to involve family or friends during the initial setup stage. It’s obviously great if they can share a little bit in the cost, but even just a little physical help is invaluable. In the end, hopefully you’ll have gained some great camping companions.
On Grid vs. Off Grid Campsites

Some campers will have the option of running electric and water to their site, some will not. I fell into the latter group, at least for now. I have no nearby utilities, but that doesn’t deter me from spending large amounts of time on my property.
When possible, having utilities run to your campsite will likely increase your enjoyment of the land, and it will certainly raise the value of your property.
Personally, I like the remoteness of my off grid campground. If I were to have water and power run down the road, that would definitely attract more people down my way. Attracting home builders is not something I prefer to do for my remote weekend property.
Conclusion
Establishing a campsite on your land doesn’t have to be overly complicated. You can always start small, with a little campfire area, and build up over the years as you figure out what you want.
The basics of what you really need are good access, and a dry level spot.
Once you have your campsite established, you might find that you want a way to watch some tv while at camp. Check out my article about that here!
Happy Camping!
Augustus Clay